Wednesday, October 20, 2010

Books and Some More Books

My project stream has slowed to a trickle. Sick baby, sleeplessness, no sewing machine and now this. I've spent every spare minute with my nose shoved into it's spine. It's the conclusion to this, which was equally enthralling. The one thing I have worked on a little, is getting some framed Moomin prints for the playroom.These are all illustrations from Who Will Comfort Toffle? I'm happy to see this book is soon to be re-released. It's really the chapter books that we've spent so much time with in recent weeks, but B gets a big kick out of seeing these characters in color like this.
Our mini home makeover is slow going. But it is going. I'm feeling inspired, but all that has to wait. Ta ta for now. My book is calling.

Monday, October 18, 2010

Halloween Decorations

We're huge Halloween nerds around here. At least 3 of us - there's still hope that the little one might have some latent "cool" genes going for him. We have a private street-front entrance to the stairs up to our apartment and this year Beckett wanted to deck out the front door. I cut out some simple ghost and pumpkin shapes and he drew the faces. Aren't they awesome? I never expected myself to be one of those crafting with the kids kind of moms, but their artwork is so much more genuine and expressive than any stale old adult work. I'm a convert. It's going to be really hard to take these off the door on Nov 1st. Who knows, maybe B can draw a mean turkey face?
And of course we have some things inside. Lots of the same goodies as years before. The garland we made last year was falling apart, so I ran it through the sewing machine - my first time sewing paper , it totally works - and brought it back to life. B is also really into the Hattifatteners, ghostlike characters from the Moomin books we've been reading, so we made some accordian fold Hattifattener paperdolls. I suspect we may be making many many more of these in the remaining 13 days till Halloween.This weekend my simple rearranging project turned into a huge de-clutter project. The closets were emptied, and many many boxes of things are destined for Goodwill. It feels great, or it's getting there, but my desk still isn't in working order. So no sewing yet. But soon, I promise, because I have some serious costuming to accomplish.

Friday, October 15, 2010

New (to Me) Winter Sweater

Check out this awesome 100% wool 'Handmade in Greece' sweater I got from the local charity thrift store near my parent's house. At first it just looked warm and chunky, but it's actually a super flattering A-line silhouette, fitted through the bust with slightly too long sleeves. I'm in love.

I'm up to my eyeballs in an apartment rearranging jigsaw puzzle. I have great Halloween decorations to post and I'm one seam and a bit of ribbing away from being done with all 7 projects!!! Ah! But first I have to finish #7, and to do that I have to move my sewing table, and to do that I have to move my steamer trunk, and to do that I have to move a few bookshelves, side tables, toy boxes... you get the idea.

Tuesday, October 12, 2010

Acorn People

After Beckett had picked out his favorite "little brown specials" for the shadow box, there was a stout pile of acorns left over. While I was busy gluing the box together, he went to my desk, completely unprompted, and came back with a fine tipped sharpie and some craft wood balls. Probably remembering this project from last winter. All I was aware of is that he was being quiet, still, and was in no danger of hot glue burns. So my jaw dropped when he presented me with these, asking me to glue them together.

He, very diligently, drew tiny faces on the balls, and sorted through his acorn tops looking for perfect hats, then picked out an acorn body for each one. Obviously we had to make a little world for them. B painted the inside of this box, then we added twigs and dried moss.
Can you stand it? Because I can't. I'm so impressed with his creativity, his ingenuity, and, frankly, his sweetness. Our world has become increasingly ruled by monster trucks and wrecking balls and car crashes, so it's wonderful to find my big boy still has an affinity for a little woodland cuteness.

Monday, October 11, 2010

"Little Brown Specials"

As I've mentioned before, Beckett loves to collect acorns. Actually, he collects all manner of natural wonders. He calls them "specials" and usually proclaims "I found it for you!" with heart breaking earnestness. We have a basket loaded with all of these treasures, rocks, leaves, pine cones, shells, etc, but the smaller objects get lost in the clutter. So yesterday B picked out a few of his favorites and we made this shadowbox. It's labeled "Little Brown Specials" at B's request.The best is yet to come. While I was gluing this together, B went and did something even cooler. So stay tuned for more acorn awesomeness.

Sunday, October 10, 2010

Baby Animal Hats Tutorial with Pattern

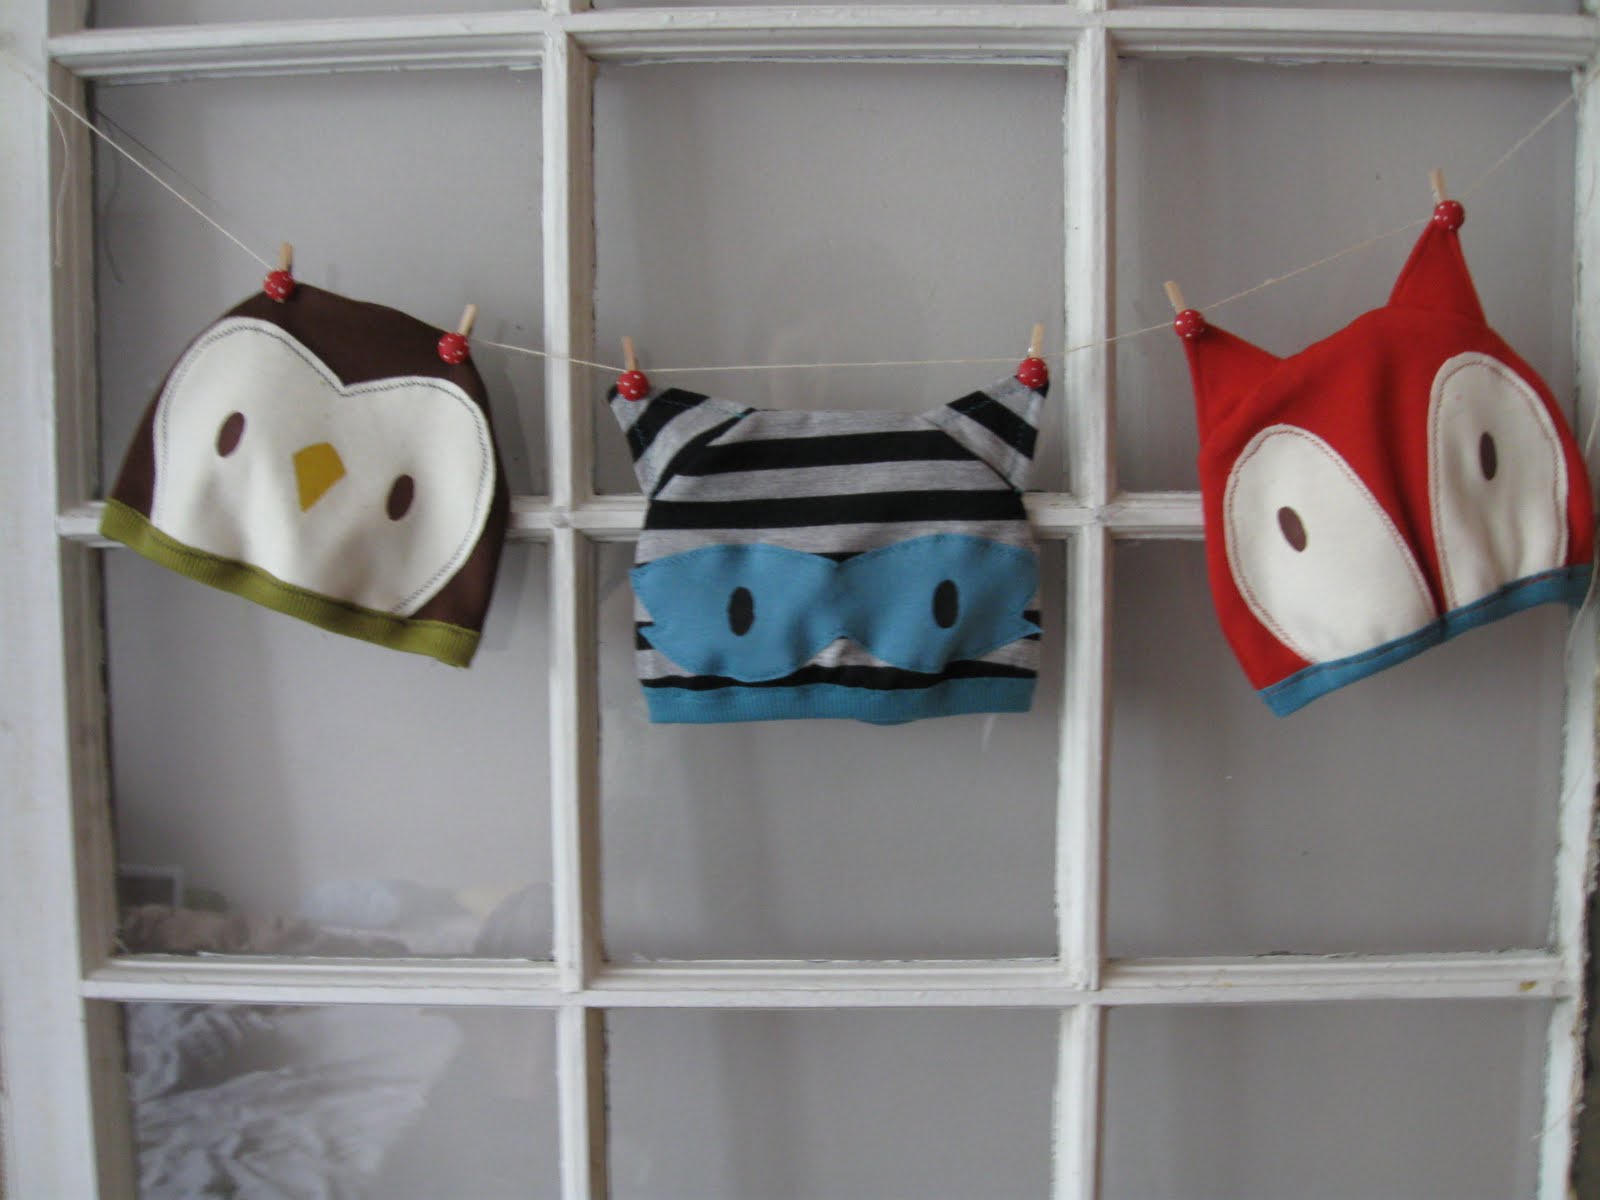
The baby animal hat patterns are here! You can download the pdfs for the owl, the fox or the raccoon. When you print the pdf, make sure you select "none" in the page scaling drop down menu.

The hats are about size 6 mo but they stretch. If you're looking for a different size you could trace an existing hat or enlarge the pattern. It's my first pattern, so please be patient and don't hesitate to ask any questions. I'm not going to make a full blown tutorial, but the instructions are below. First of all, here's what you'll need:

-Less than 1/4 yard of cotton interlock knit, in coordinating colors. I like the thickness of interlock for these. Mostly it just needs to be something that won't fray. If you use a lighter weight jersey, old t shirt etc, you may need to use interfacing or extra layers on the ears to keep them from flopping over.

-Ribbed knit in coordinating color. Less than 1/8 yard.

-Either have matching thread or a coordinating color if you want to get decorative with it, this project is pretty topstitch heavy.

-Freezer paper and fabric paint or extra coordinating fabrics if you choose to applique the features instead.

The basic steps are as follows

1- Wash, dry, press your fabric. Cut out pattern pieces and your freezer paper stencil.

2- Applique, paint, sew buttons or stencil the eyes (and beak for the owl) onto the face pieces. I used freezer paper stencils and I included my stencil design in the pattern. If you've never used freezer paper to stencil, I highly recommend it. Here's one of many great tutorials.

3- Let your paint dry fully, and then heat set it. Be sure to use an ironing cloth or scrap of fabric to protect your iron.

4- Topstitch the face pieces onto the front of the hat. Use a zig zag, serger or some other stitch that a) will stretch and b) looks decent as this will show.

5- Sew ribbing to the bottom edge of both sides of the hat. Here's my ribbing tutorial, if you've never used it. (For the owl hat, skip to step 8)

6- Take 2 ear pieces, right sides facing, and sew the top 2 sides of the triangle, leaving the bottoms open. Turn right side out and topstitch. Repeat with the other ear.

7- Pin ears to front side of hat, pointing down, right sides facing. Take your time and make sure you like the ear placement.

8- Pin both sides of the hat together, right sides facing, and sew. Trim any scraggly edges and turn right side out.Once again, I'm sorry for the delay on these. It's been a comedy of errors for sure. But I appreciate your patience and interest so very much. If you do make anything from these patterns, and especially if you blog about them, I'd love to be credited for the inception. And definitely leave me a link so I can check out your creations! Thanks!
Tuesday, October 5, 2010

In the Meantime- Tutorial on Sewing Ribbing

We might as well take advantage of the technical difficulties, so while we wait for the animal hats pattern, how about a down and dirty tutorial on ribbing?

First of all, let me reiterate that I have a very basic sewing machine and therefore I use a basic zig zag stitch when working with knits. I hope to someday own a serger, and on that day I anticipate many tears of joy. But until then, I zig zag. Those of you who have a serger, an overlock machine or one with a stretch stitch, use it!

Next I should say that I leave the edges of my ribbing raw. I know it's not the most high brow way to do things, but it doesn't fray or unravel and it makes it softer. And as long as you cut it cleanly it looks great.

-Wash and dry your ribbed knit fabric (available at most fabric stores.) It comes in pretty great colors so have fun with it.
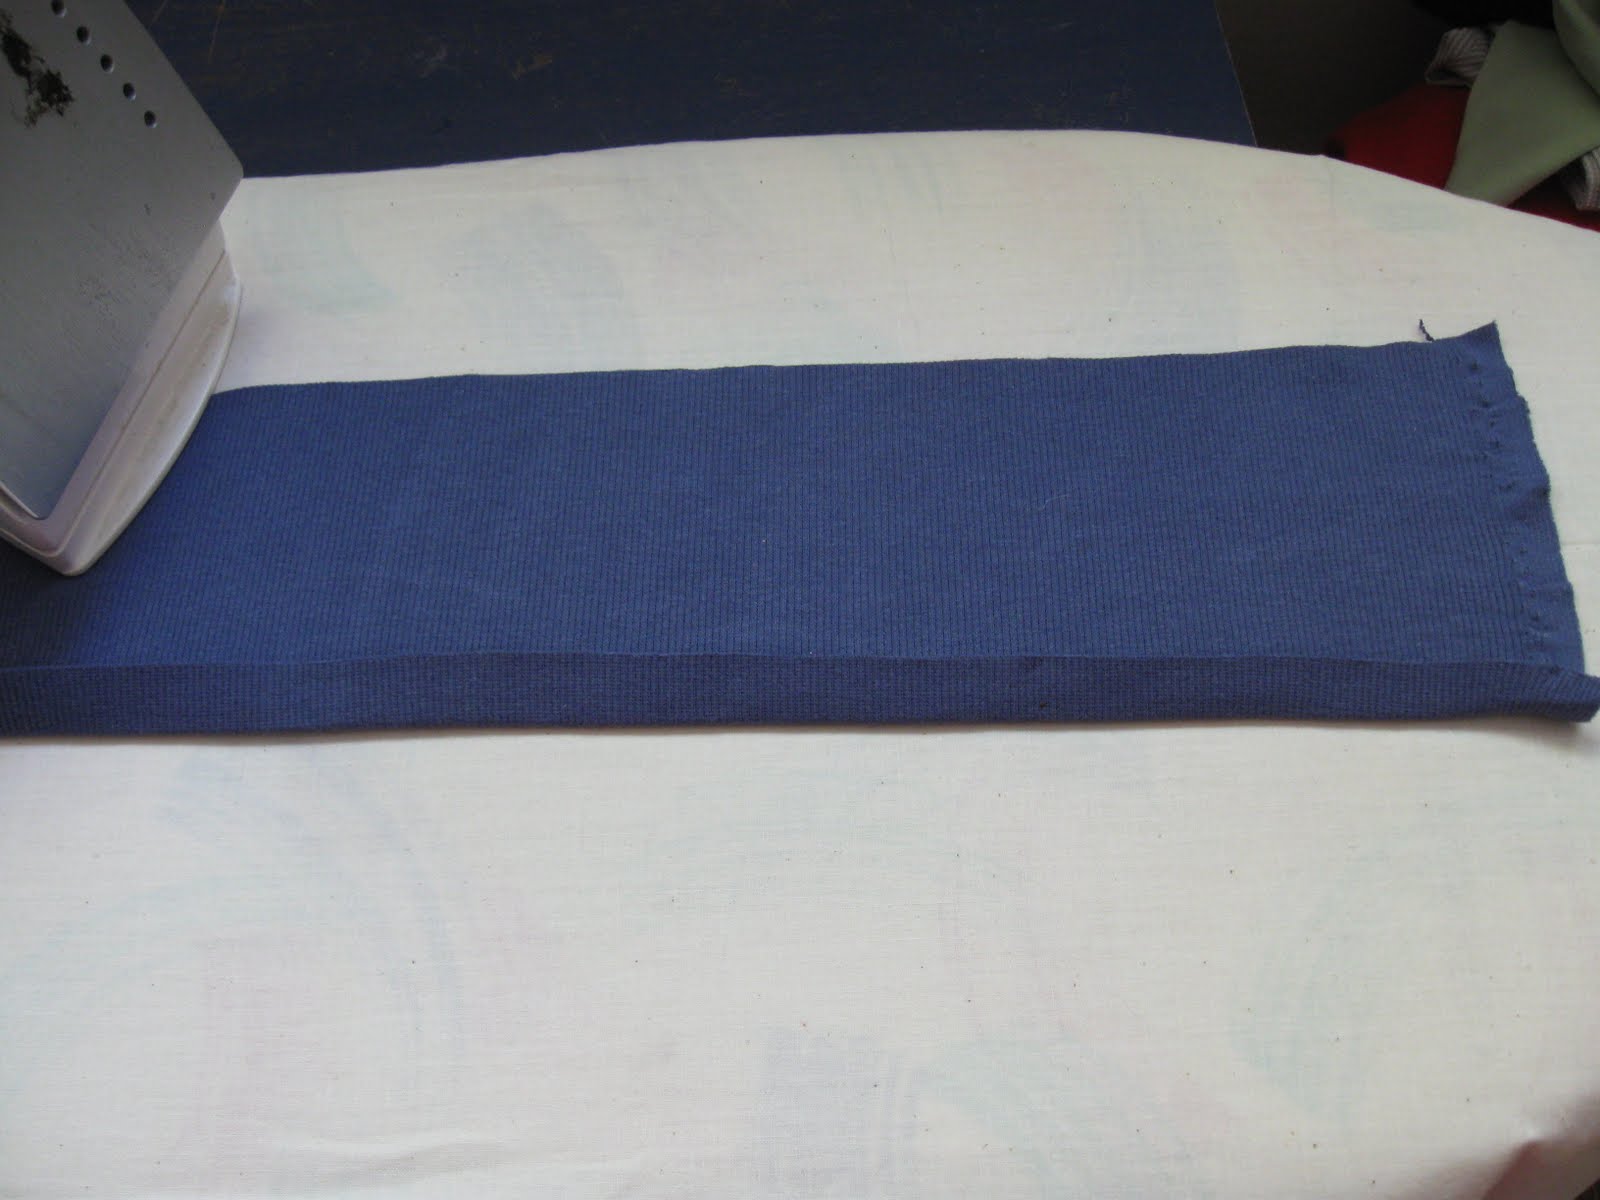
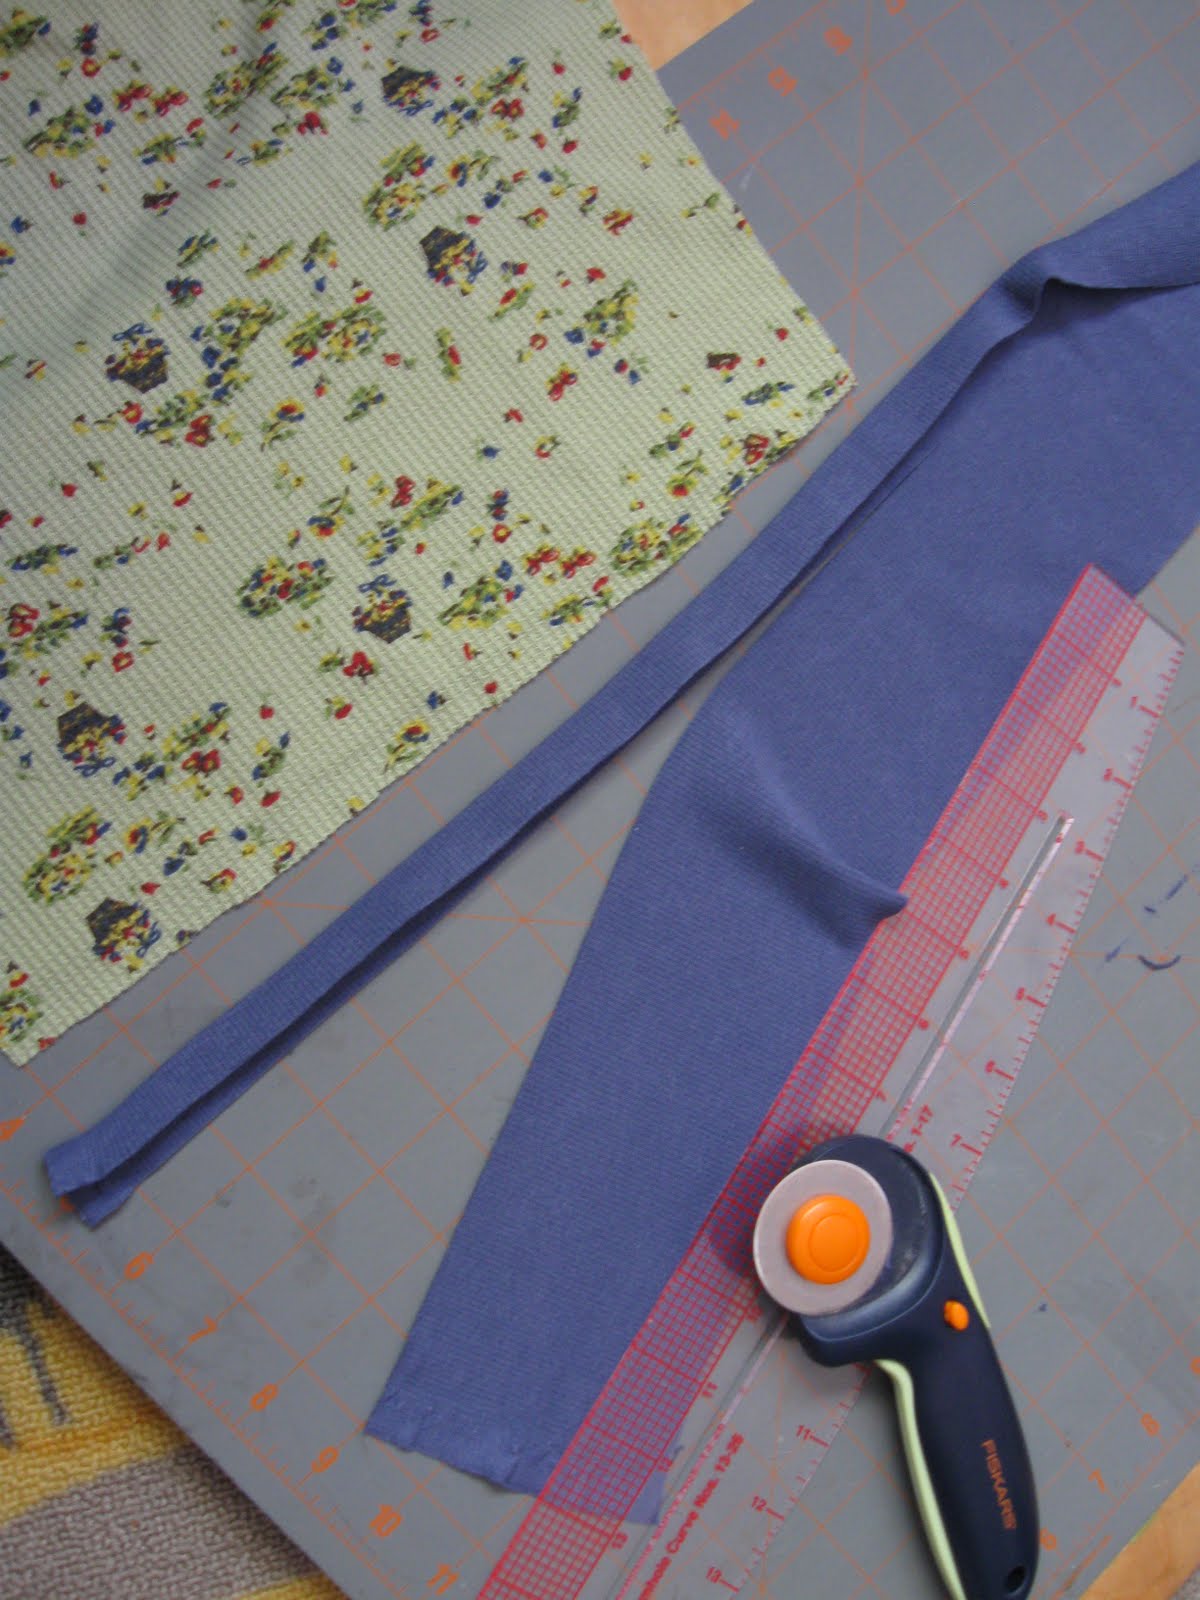
-If your cutting counter professional's cut leaves something to be desired use sharp scissors or a sharp rotary cutter to clean up the edge.-Place your ribbed knit on your ironing surface, right side down. Fold up one edge to the width you'd like for your trim. Press.-Next cut the back of the trim about 1/16" wider than the front. I usually lay my pattern piece (in this case, a sleeve) out next to it and eyeball the length I'll need so I don't cut too much ribbing.-Cut the length you need. Ribbed trim needs to be stretched tight so it needs to be shorter than the edge you're sewing it to. Some people cut the ribbing to 2/3 or 3/4 of the total length. I cut the whole length because it gives me the freedom to choose how tightly I want to stretch it. It's a little wasteful, as you end up with a little scrap to cut off, but it doesn't keep me up at night.-Unfold your ribbing, put the edge of your garment inside, and refold. Pin one end.-Time to sew. Put the pinned end under your presser foot, make a few stitches and backstitch. Then pull the ribbing toward you, being careful to keep the garment fabric well inside the ribbed trim. How tight you pull determines the tightness of the trim. Too loose looks sloppy, too tight is uncomfortable and bunches.-Zig zag stitch about 1/16" from the top edge of the ribbing. Backstitch at the end and cut off the extra trim.-Done and done. I hope this helps, I'm pretty awkward at writing tutorials, so if anything needs clarification or expansion please leave a comment and I'll happily fix it/ get back to you.

Monday, October 4, 2010

Baby Hat Menagerie in Limbo

We're experiencing technical difficulties around here. So typical. Our scanner kicked the bucket and a new one is being shipped as I write. The baby animal hat tutorial is going to have to wait for a few more days. Bear with me, I'm working on it! Sorry for the delay folks, and thanks so much for your interest!

Moomin Mania

We're in the throes of full blown Moomin fever around here. These stories and characters, by Tove Jansson, are absolutely marvelous. Full of Scandinavian humor and wonder and a slight bent toward Scandinavian melancholy. It suits us brooding Brewers just right. The Finn Family Moomintroll has officially become Beckett's first one-chapter-a-night book. It's fantastic. I have such strong, lovely memories of my dad reading James and the Giant Peach and Charlie and the Chocolate Factory to me in this way. And it's even better on the parental end. Man, my life is good.
All of the great illustrations, and whimsical places are giving me a strong urge to Moomin-out the playroom.

Friday, October 1, 2010

Happy Birthday

Lemon raspberry cupcakes with cream cheese frosting, birthday pasta salad and a weekend with friends and family in Seattle. Happy Birthday, to the foxiest darn "Daddus" around.